

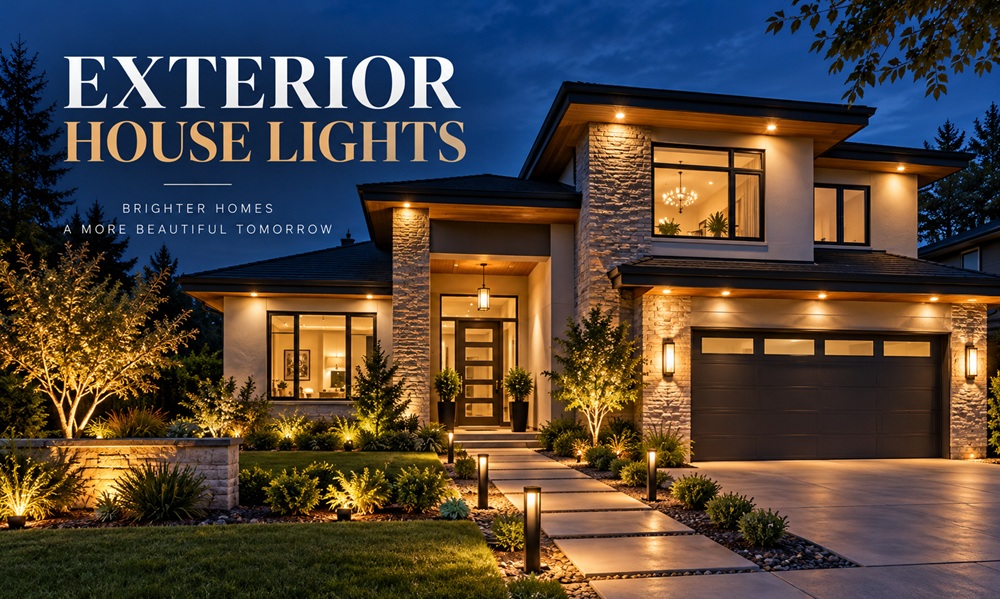
Most people shop for exterior house lights one fixture at a time, and then wonder why the house looks patchy after dark. A better way is to walk the outside of your home at night with a flashlight and decide what each area needs. Some spots need safety light, some need security light, and a few just need to look good. Each job calls for a different kind of fixture.
Think in Layers First
Good outdoor lighting usually blends three kinds of light.
Task and safety light covers steps, doors, and walkways so people can see where they’re going. Security light covers the edges of the property and dark corners so nobody has a place to linger unseen. Accent light adds interest by highlighting a textured wall, a tree, or an architectural feature.
You don’t need all three everywhere. A small home may only need the first two. But when you’re planning, labeling each area by its main job keeps you from buying the wrong fixture.
The Front Entry
The entrance carries the most weight, because it’s both the welcome and the point where people fumble with keys. A pair of fixtures beside the door, or one overhead on a covered porch, usually does the job. Keep brightness moderate and the color warm so the door feels inviting rather than harsh.
Make sure the house number is lit and readable from the street. Delivery drivers and emergency responders both appreciate it.
Garage and Driveway
Garages tend to need brighter, wider light than the front door, since people are loading cars, carrying bags, and backing out. Wall lanterns on each side of the garage door look balanced, and a larger single fixture can work above a wide double door.
A motion-activated floodlight above the garage is a popular choice for driveways, since it saves energy and draws attention when something moves. Aim it downward and slightly inward so it doesn’t shine into the street or a neighbor’s windows.
Walkways and Steps
Path lights solve a different problem. They sit low and put light on the ground rather than into eyes. Spacing matters here. Put them far enough apart to create overlapping pools of light without forming a runway of bright spots. Many people start with a gap of six to eight feet and adjust once they see the effect at night.
For steps, the safest light comes from the step itself. Small recessed or surface-mounted step lights, or lights tucked under a tread edge, show every drop clearly. If that’s more work than you want, make sure the nearest wall fixture reaches the lowest step.
Back Patio and Yard
Here the goal is comfort. Bright floodlights make an evening gathering feel like a loading dock. A mix works better, with a soft wall light by the door, string lights or lanterns over the seating area, and one brighter fixture on its own switch for chores like grilling or taking out trash.
If you have a deck or a pool, treat them with extra care. Wet areas need properly rated, often low-voltage, fixtures, and steps and edges need clear light.
Side Yards and Dark Corners
These are the places most homeowners forget and most burglars notice. A single downward-facing fixture on a motion sensor often solves the problem without lighting the whole property all night. Place it high enough that it can’t easily be reached or tampered with, and avoid pointing it into a neighbor’s bedroom window.
Accent Lighting With a Light Touch
Uplighting a textured wall, a column, or a specimen tree adds depth to the house at night. A small number of fixtures can do a lot. Choose narrow beams for tall objects and wider beams for broad surfaces, and place the fixture a short distance from the target so the beam doesn’t blow out one spot.
Accent lighting should stay subtle. If it’s the brightest thing in the yard, it’s too much.
Fixtures That Can Handle the Weather
Whatever the zone, exterior fixtures need to survive the outdoors. Look for wet location listings on anything fully exposed, and damp listings for covered spots. Finishes like powder coated aluminum, brass, and stainless steel resist corrosion better than bare steel, and sealed glass or polycarbonate lenses keep water and insects out.
Consider maintenance, too. A fixture that’s hard to reach will be ignored until it fails. LED bulbs and integrated LED fixtures last a long time and reduce the number of ladder trips, though integrated units mean replacing the whole fixture when the light source finally fails.
Mistakes That Make a House Look Worse at Night
Over-lighting is the most common one. Too many bright fixtures flatten the house and create glare, while a few well chosen ones give shape and depth. Mixing color temperatures is another giveaway, since a warm entry light beside a cool garage light makes the front of the house look uneven.
Placement errors matter as well. A floodlight aimed at the street lights up passersby rather than the property, and a fixture mounted too low or too close to a window can shine straight into a bedroom. Walk around at night after installation and adjust anything that causes glare.
Color, Brightness, and Being a Good Neighbor
Warm white bulbs around 2700K to 3000K suit most homes. Cooler light can look sharp on modern architecture, but it also feels harsher and can disturb sleep inside nearby homes. Whatever color you pick, use it consistently across the front of the house.
Choose fixtures with shields or downward-facing designs. Light that spills into the sky or across the property line wastes energy and annoys neighbors, and some towns have rules about outdoor lighting, so it’s worth checking your local ordinances.
Controls That Save Effort
Good controls make exterior house lights easier to live with. A photocell handles dusk to dawn operation, timers cut off decorative lights at a set hour, and motion sensors add brightness only when it’s needed. Smart switches let you group zones and adjust them from your phone.
Group lights by zone on separate switches or circuits when you can. That way you can leave the front entry on all night and the patio off.
Adjusting After Dark
No plan looks exactly right on paper, so give yourself an evening to fine tune. Walk the property after installation and look at the house from the street, from the driveway, and from your own windows. Tilt floodlights down, shade any bulb that glares, and change the angle of accent fixtures until the shadows look natural. Small adjustments often matter more than buying a different fixture.
A Practical Order of Operations
If you’re planning a full upgrade, work in this order. Fix the safety issues first, meaning steps, entries, and walkways. Add security light to the dark edges next. Finally, layer in accent and patio lighting once the basics are right. That sequence spreads out the cost and prevents you from spending on decoration while a dark step is still waiting for a fixture.
Any new wiring, buried cable, or work on an existing circuit is a good point to bring in a licensed electrician, especially for outdoor locations where moisture is a constant risk.