
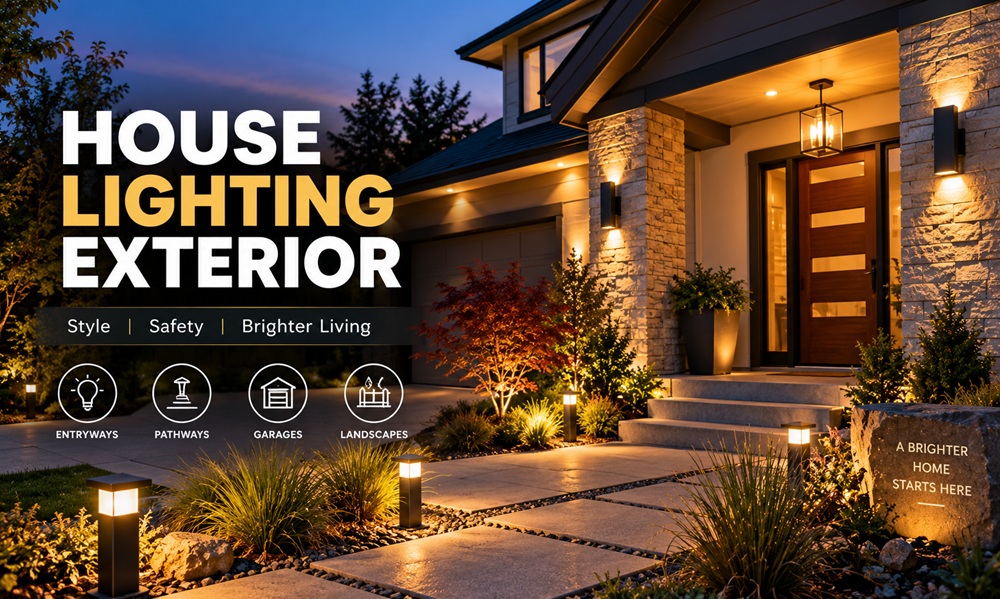
Good house lighting exterior starts with the house itself. A brick colonial, a stucco ranch, and a board and batten farmhouse all react to light differently, so copying a photo from another home rarely gives the same result. Before choosing fixtures, look at your walls, rooflines, and materials and decide what you want people to notice after dark.
Start With the Facade You Have
Different surfaces reward different treatment. The table below gives a quick starting point.
| Surface or style | What tends to look good | Watch out for |
|---|---|---|
| Brick | Soft wall washing, warm bulbs that bring out color | Harsh spotlights that exaggerate mortar lines |
| Stucco | Gentle uplighting that shows texture | Hot spots on smooth patches |
| Wood siding | Warm light from small, shielded fixtures | Cool bulbs that make wood look gray |
| Stone | Grazing light that shows depth | Fixtures placed too far away |
| Flat panel or metal | Linear light along edges | Reflective glare |
Use this as a guide rather than a rule. The best way to test is to hold a flashlight near the wall at different angles after dark and notice which effect you like.
Three Techniques Worth Knowing
Washing
Washing spreads light evenly across a wall surface. It works best on smooth or lightly textured walls and helps the house feel larger and calmer at night. Wide beam fixtures placed a little farther from the wall do this job.
Grazing
Grazing places a narrow fixture very close to the wall, so the light skims across the surface. It exaggerates every bump and ridge, which looks dramatic on stone, rough brick, and heavy siding. It looks poor on flawed or patchy surfaces, since it highlights every imperfection.
Downlighting and Uplighting
Fixtures mounted under eaves can send light downward and create a gentle glow across the wall and landscape below. Fixtures set in the ground aim upward and emphasize columns, trees, and tall facades. Mixing the two often feels natural, because it mimics light from above and below.
Distances, Angles, and Beam Spread
Placement turns a good fixture into a good result. Narrow beams suit tall, thin targets like columns or specimen trees. Wide beams cover broad surfaces like garage doors and long walls. If you put a narrow beam too close to a wide wall, you get a bright spot with dark gaps on either side.
A practical way to plan is to mock up the lighting before drilling anything. Use temporary stakes, clip-on fixtures, or even a bright flashlight held by a helper while you stand at the street and look. Move the light until the effect looks right, then mark the spot.
Height and Spacing Across the Front
Where fixtures sit vertically changes how the house feels. Low fixtures emphasize landscaping and foundations. Mid-height wall lights suit entrances and give a human scale. High fixtures, like those under eaves, light large areas and cover the roofline.
Space repeated fixtures evenly, and line them up with visual landmarks such as windows, columns, or garage doors. Random spacing makes a house look messy even when each fixture is good.
Color Temperature and Color Rendering
Warm white in the 2700K to 3000K range suits most exteriors, especially those with natural materials. Slightly cooler light can work for modern homes with metal and glass, but going too cool makes the house feel sterile. Whatever you choose, keep it consistent on the front facade so the colors don’t clash.
Color rendering describes how accurately a bulb shows real colors. Higher ratings, typically 80 or above, make brick, wood, and landscaping look more natural. Cheap bulbs with poor rendering can dull a good facade.
Zones and Controls
Divide the house into zones so you can control each separately. A typical front facade might have an entrance zone, a garage zone, a landscape zone, and a security zone. This way, you can leave the entrance on all night, switch off landscape accents after midnight, and keep the security lights on sensors.
Photocells handle dusk and dawn. Timers can turn off decorative lights at a set hour. Smart controls let you create scenes, such as a brighter setting for guests and a dimmer one for ordinary evenings.
Rules, Permits, and Neighbors
Outdoor lighting isn’t entirely your own business. Some towns and homeowner associations limit brightness, color, or the direction of fixtures. Shielded fixtures that point downward, sometimes called full cutoff, keep light on your property and reduce complaints. Check local rules before installing anything large, particularly floodlights, and consider your neighbors’ bedroom windows.
Wiring for new locations or buried cable may require permits, depending on where you live. A licensed electrician can tell you what’s needed and ensure the work meets local code.
Lighting Windows, Doors, and Rooflines
Architectural details give the house its character, so they deserve attention. Entry doors benefit from light on both sides so the door itself is visible and the face of a visitor is easy to see. Garage doors look best with a pair of fixtures or a single wide one above, and a shaded fixture keeps glare off the glossy door surface.
Rooflines can be traced with soffit lighting or small downlights under the eaves. This works especially well for homes with strong gables or deep overhangs. Keep the spacing even and avoid placing lights directly above windows, where they can cast shadows across the glass.
Windows themselves rarely need exterior light, since the glow from inside already marks them. If you do add fixtures near windows, aim them away from the glass to prevent reflections that hide the interior.
Testing the Plan After Dark
A lighting plan always looks different at night than on paper. Once fixtures are in place, wait for full darkness and walk the property. View the house from the sidewalk, from across the street, and from the driveway, because each angle shows different problems.
Look for hot spots, harsh shadows, and glare, and take notes. Tilt a spotlight a few degrees, shift a fixture a few inches, or swap a bulb for a softer one. Small adjustments often transform the result. Many homeowners find that after tuning, they need fewer fixtures than they first expected.
Seasonal Tweaks
Plants grow and shadows change. A fixture that lit a young tree perfectly may need adjustment after a few years, and winter leaf drop alters how light falls across the yard. Walk the property once each season to re-aim fixtures, clean lenses, and trim anything that blocks light.
Budget and Phasing
A full facade plan doesn’t have to happen in one weekend. Start with the entrance and garage, since they affect safety and first impressions the most. Add landscape and accent lighting later, once you’ve lived with the first layer and seen what the house still needs. If you plan to expand, run conduit or leave extra capacity in the transformer or circuit now, which is far cheaper than opening walls or trenches again.
Keeping It Simple
You don’t need dozens of fixtures. Study the facade, pick two or three techniques that suit its materials, and place light where it shows the house at its best. A restrained, well aimed plan beats a bright one every time, and it makes your house lighting exterior look like part of the architecture instead of something added afterward.