

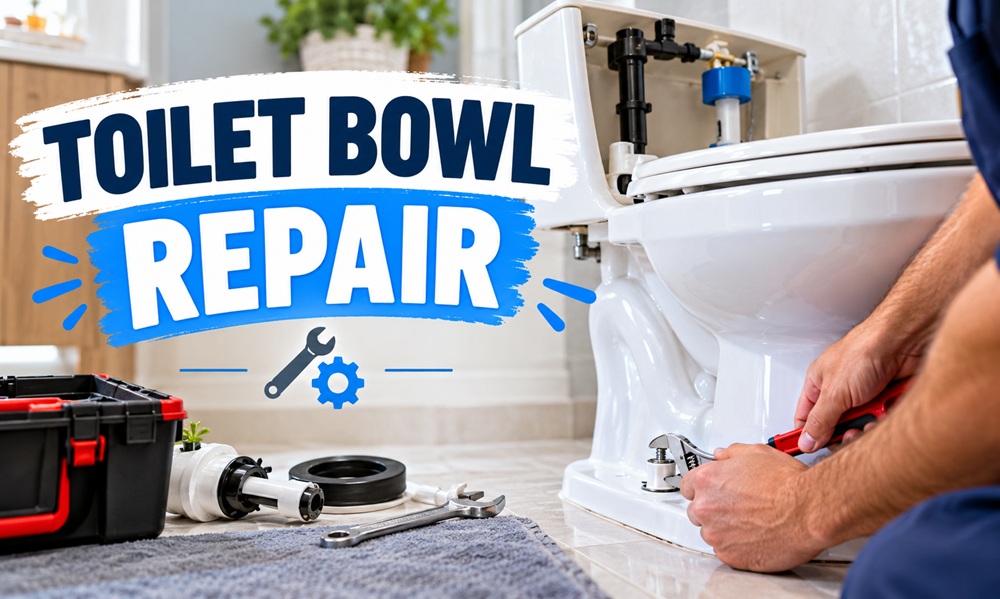
A toilet that runs all night, leaks at the base, or flushes like it’s tired rarely needs to be replaced. Most toilet bowl repair comes down to a few inexpensive parts and an hour or so of patience. The real challenge is figuring out which problem you actually have, because the symptoms overlap and guessing leads to swapping parts that were fine.
This guide walks through the problems in the order most households run into them. It covers the fixes a beginner can handle and the point where a plumber is the smarter call.
Work Out the Problem Before Buying Anything
Spend a few minutes watching the toilet. Lift the tank lid, flush, and see what happens inside. Most repairs fall into one of these patterns.
- Water keeps trickling into the bowl after a flush, or the tank refills on its own every so often. The flapper or fill valve is the likely cause.
- The flush starts strong and then fades, leaving waste behind. Look at the rim jets, the water level in the tank, and the flapper chain.
- Water pools on the floor around the base. The wax ring, closet bolts, or the supply line connection could be to blame.
- Water drips from the tank itself or from the underside where the tank meets the bowl. Tank bolts and rubber washers usually fail first.
- There’s a visible crack in the porcelain. That’s a separate category, covered further down.
Before any repair, turn off the water at the shutoff valve behind the toilet by turning the oval handle clockwise until it stops. Flush once to empty the tank, and you’re ready to work.
Stopping a Toilet That Runs or Refills on Its Own
A running toilet wastes water quietly, and the cause is usually the flapper, the rubber piece at the bottom of the tank that lifts when you flush and drops back to seal the opening. Over time it gets soft, warped, or coated in mineral film, and it stops sealing properly.
To confirm, add a few drops of food coloring to the tank and leave the toilet alone for fifteen to twenty minutes. If color shows up in the bowl without flushing, the flapper is leaking.
Replacing it takes about ten minutes.
- Shut off the water and flush to empty the tank.
- Unhook the chain from the flush lever arm and slide the flapper’s side ears off the overflow tube pegs.
- Take the old flapper to the store so you can match it. Flush valves come in different sizes, and a two-inch flapper won’t seal a three-inch opening.
- Snap the new flapper onto the pegs and reconnect the chain with about half an inch of slack. A chain that’s too tight holds the flapper open, and one that’s too loose can get trapped under it.
- Turn the water back on and let the tank refill, then test a flush.
If the flapper checks out and the toilet still runs, look at the fill valve. The water should stop about an inch below the top of the overflow tube. If it keeps rising and spills down the tube, adjust the float. If adjusting does nothing, replace the fill valve. Universal kits fit most toilets and include simple instructions.
Repairing a Weak or Incomplete Flush
A sluggish flush is often a mineral problem rather than a mechanical one. Under the rim of the bowl are small holes that send water around the porcelain. When hard water deposits clog them, the flush loses its force.
Pour a cup or two of white vinegar down the overflow tube and let it sit for an hour. Then use a small brush or a bent piece of wire to clear each hole under the rim, working your way around the bowl. A small mirror helps you see what you’re doing.
If the rim jets are clear, check the tank water level. Most tanks have a fill line marked inside, and if the water sits well below it, there simply isn’t enough volume to push waste through. Adjust the float on the fill valve until the level reaches the mark.
Finally, look at the flapper chain again. A chain that’s too short can make the flapper drop early, cutting the flush off before the tank has emptied.
Fixing a Leak at the Base
Not every puddle is a leak. A tank that sweats in humid weather can drip onto the floor and look alarming. Dry the toilet thoroughly, wrap some tissue around the base, and check it after a flush. If the tissue stays dry but the tank surface is wet, you’re dealing with condensation, and an insulated tank liner or better bathroom ventilation will help.
If the water is coming from the base itself, the wax ring is the usual culprit. It’s the seal between the toilet and the drain flange in the floor. Other signs include a toilet that rocks slightly and a faint sewer smell.
Replacing the ring is one of the bigger toilet repairs, but it’s manageable.
- Turn off the water, flush, and sponge out whatever remains in the tank and bowl.
- Disconnect the supply line and remove the nuts on the closet bolts at the base.
- Rock the toilet gently to break the seal, then lift it straight up. It’s heavy, so get help if you need it, and set it on a towel or cardboard.
- Scrape the old wax off the flange completely and inspect the flange for cracks or corrosion.
- Place a new wax ring on the flange or on the toilet’s horn, then lower the toilet straight down over the bolts.
- Press down evenly, thread on the nuts, and tighten them alternately a little at a time. Overtightening cracks porcelain, so stop when the toilet feels firm.
Once the toilet is seated, don’t twist or shift it, since that can break the new seal. If the flange is damaged or the floor around it feels soft, stop and bring in a professional. Rotted subfloor isn’t something to patch around.
Cracks in the Bowl or Tank
Hairline cracks that show up above the waterline in the tank are sometimes cosmetic, but they can spread. Cracks in the bowl below the waterline will leak, and no sealant is a dependable long-term answer. Epoxy products exist and may buy a little time, but a cracked bowl is a replacement job in most cases.
Tank cracks are sometimes worth a closer look. If the tank itself is cracked, it can fail suddenly, so shut off the water and replace the toilet instead of waiting.
Clearing a Clog Without Making It Worse
For a stubborn clog, a flange plunger (the kind with an extra rubber flap) works much better than the flat cup type. Make sure there’s enough water in the bowl to cover the cup, seat it firmly over the drain, and push and pull steadily without splashing.
If plunging fails after a few rounds, a closet auger reaches deeper and is gentler on porcelain than a regular drain snake. Harsh chemical cleaners can splash back and are tough on some pipes, so most plumbers prefer mechanical methods first.
Tools Worth Having on Hand
You don’t need a lot. An adjustable wrench, a flange plunger, a closet auger, a small bucket, sponge, putty knife, and a pair of rubber gloves cover most jobs. Keep a spare flapper and a new supply line in a cabinet, because those two parts fail more often than anything else.
When to Call a Plumber
Some situations go beyond a weekend repair. If several fixtures drain slowly, if sewage backs up in a tub or floor drain, or if the toilet keeps clogging despite a clear trap, the problem may be farther down the line. The same goes for a damaged flange, a soft or stained floor around the toilet, or a leak that returns after you’ve replaced the obvious parts.
Most toilet problems announce themselves clearly if you pay attention. Watch the tank, test the flapper, check the base, and fix one thing at a time. Done in that order, a toilet bowl repair is usually quick, cheap, and satisfying.