
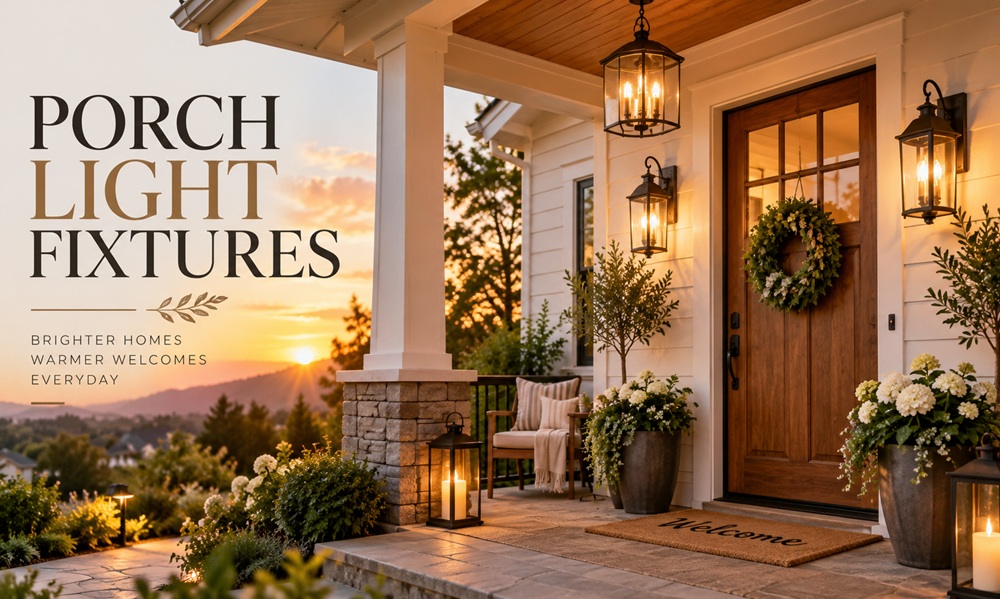
A porch light does quiet work. It welcomes guests, helps you find your keys, and tells people the house is cared for. It’s also one of the easiest places to make a mistake, because the wrong porch light fixtures can look too small, fail in the first wet season, or glare in everyone’s eyes. Choosing well means looking at more than the style in the photo.
Begin With the Weather Rating
Before you think about finish or shape, check where the fixture is allowed to live. Outdoor fixtures carry ratings that describe how much moisture they can handle.
A wet-rated fixture is built to take direct exposure to rain and snow. A damp-rated fixture can handle humidity and some splashing, which suits a covered porch that rarely sees direct weather. If your porch is open at the sides or faces the prevailing storm direction, choose wet-rated. It’s a small spec that prevents corrosion, short circuits, and water inside the glass.
The rating is usually printed on the box and on a label inside the fixture. If you can’t find it, don’t guess.
Getting the Size Right
Size is where most homeowners go wrong. A fixture that’s too small looks lost on the wall, and one that’s too large can overwhelm the entry.
A common design guideline suggests that a wall-mounted fixture should measure roughly one third the height of the front door. For a standard door, that often lands somewhere between a medium and large lantern. If you’re using two fixtures on either side of the door, each can be a bit smaller than a single one would be.
For height, many designers place the center of the fixture around five and a half feet above the porch floor, or slightly above eye level. These are guidelines rather than rules, and your siding, door trim, and the lines of your house can change what looks right. Cut a paper template, tape it to the wall, and look at it from the street before you drill.
Matching the Fixture to the House
The best porch light fixtures feel like they belong to the home’s architecture. Think about the general style first, then refine.
A traditional colonial or Georgian house tends to suit classic lanterns with clear or seeded glass. A craftsman home pairs well with simple, sturdy lines, often with squared shapes and darker metal finishes. Modern and contemporary homes often look best with clean cylinder or box shapes and little ornament. Farmhouse designs are open to barn-style shades and gooseneck arms, while coastal or cottage homes lean toward weathered or lighter finishes.
Match the finish to other exposed hardware if you can. The door handle, house numbers, and mailbox don’t need to be identical, but they should look related.
Materials and How They Age
The material affects how long the fixture lasts, especially if you live near the coast or in a climate with heavy snow.
| Material | General characteristics |
|---|---|
| Solid brass | Strong and long lasting, develops a patina over time unless sealed |
| Copper | Ages to a green or brown patina, good for traditional or rustic looks |
| Aluminum | Light and resistant to rust, often used with powder-coated finishes |
| Stainless steel | Durable and clean looking, a common choice for modern homes |
| Powder-coated steel | Often affordable, but the finish needs to be intact to resist rust |
| Composite or resin | Resists corrosion and some impact, quality varies by manufacturer |
If you live where salt air is a factor, prioritize corrosion-resistant materials and look for finishes designed for marine or coastal use. A fixture that looks good in the store isn’t always built to survive years of sun, sleet, and humidity.
Glass, Shades, and How the Light Spreads
The glass affects how the light feels as much as how the fixture looks.
Clear glass gives a bright, sparkly effect but can show the bulb itself, which some people find harsh. Seeded or frosted glass spreads the light more evenly and softens glare. Amber or lightly tinted glass produces a warmer tone, which suits older homes. Open-bottom designs throw light downward, which can reduce light pollution and keep the glow where you need it.
If neighbors are close, a shielded or downward-facing fixture is considerate and often more comfortable to live with.
Choosing Bulbs and Brightness
Many fixtures come without a bulb, and the one you choose changes everything.
LED bulbs are the common choice for outdoor use because they last a long time and use less electricity. Look at lumens instead of watts when judging brightness. A porch usually doesn’t need an intense glow, and a moderate output provides enough light for stairs and the door without glare. If your steps are steep or the entry is dark, you can add a bit more brightness or a second fixture.
Color temperature matters too. Warmer bulbs, often labeled around 2700K to 3000K, give a welcoming, golden look. Cooler white bulbs can look stark and slightly clinical on a front porch, although some people prefer them for security.
Check that the bulb is rated for the fixture. Enclosed fixtures trap heat, and not every bulb is designed for that. The fixture label will list the maximum wattage and bulb type.
Smart and Sensor Features
Some porch light fixtures include built-in features worth considering.
- Dusk-to-dawn sensors turn the light on and off automatically with natural light.
- Motion sensors brighten the fixture when someone approaches, which can be helpful at side entries.
- Smart bulbs or smart switches allow scheduling and remote control.
- Integrated LEDs are sealed into the fixture, which can look sleek but means you replace the whole unit if the light fails.
If you want a sensor but dislike the look, check whether you can add a separate photocell or use a smart bulb inside a more traditional fixture.
Installation Basics
Replacing an existing fixture is a manageable project if you’re comfortable with basic electrical work. The safe way to start is by turning off the circuit at the breaker, not just the wall switch, and confirming with a voltage tester that the wires are dead.
From there, the process is straightforward. Remove the old fixture, note how the wires connect, attach the new mounting bracket, and connect the matching wires with wire connectors. Seal around the base with exterior caulk where the fixture meets the siding, leaving a small gap at the bottom so moisture can escape.
Hire a licensed electrician if the wiring looks old or damaged, if you’re adding a new fixture location, or if you aren’t sure what you’re looking at. Local electrical codes vary, and some require permits for new circuits.
Common Mistakes Worth Avoiding
The most frequent errors are buying a fixture that’s too small, ignoring the wet rating, choosing a finish that doesn’t suit the climate, and picking a bulb so bright it creates glare. A less obvious mistake is forgetting that the fixture is seen both day and night. A shade that looks elegant when lit may look plain, or even awkward, in daylight.
It also helps to think about maintenance. Dark finishes show dust and pollen, and clear glass shows insects. A fixture with an easy-open access panel makes bulb changes simpler, especially if it’s mounted high.
Pulling It Together
Start with the rating, measure the space, match the style to the house, and pick a bulb that makes the porch feel inviting. If you do those four things, the details usually fall into place. The right porch light fixtures won’t draw attention to themselves, but they’ll make every arrival after dark a little easier.