
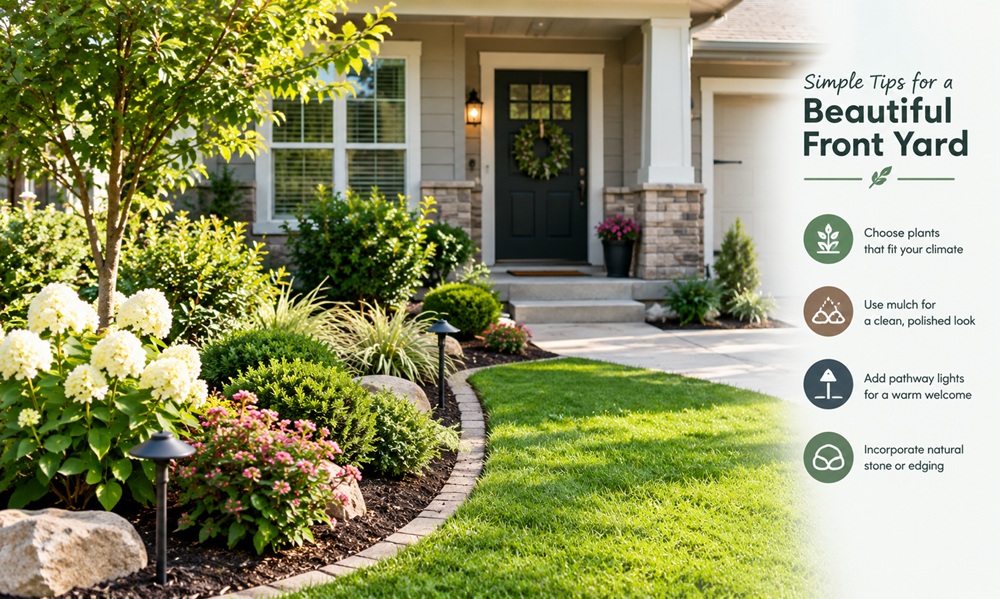
Where do you start when you want to landscape a front yard? With a sketch and a few measurements, not a shopping trip. Most disappointing front yards come from buying plants first and figuring out the layout later. Working in the right order saves money, prevents rework, and gives you a result that fits your house and your lifestyle.
This walkthrough follows the order professionals tend to use, from reading the site through to the last layer of mulch.
1. Walk the yard and write down what you find
Spend half an hour outside with a notebook before you decide anything. Note where the sun hits in the morning and afternoon, where water pools after rain, and which spots stay damp or bone dry. Look at the soil. Is it sandy, heavy clay, or somewhere in between? A simple test is to squeeze a handful of moist soil. Clay holds a tight ball, sand falls apart, and loam crumbles gently.
Mark anything that’s staying put, such as mature trees, utility boxes, the water meter, and underground lines. Call your local utility locating service before you dig. In the United States that’s the 811 line, which marks buried utilities for free.
2. Decide what the yard needs to do
A front yard isn’t only decoration. Think about how it works day to day. Do you need a clear path from the driveway to the door? Space for guests to park? A spot for a bench or a couple of chairs? Privacy from a busy street?
Write a short list of must haves and nice to haves. Having them on paper makes it far easier to say no to features that sound good but don’t suit you.
3. Measure and draw a base plan
Measure the lot, the house footprint, the driveway, the walk, and any fixed features. Transfer them to graph paper at a simple scale, such as one square for every foot or two. Photocopy the base plan a few times so you can sketch different layouts on top without redrawing everything.
On your sketch, draw loose zones rather than individual plants. Where does the lawn go, where do beds go, and where do hard surfaces go? Curves usually look better than angles in a front yard, but the overall shape should echo the style of the house.
4. Sort out the budget and what drives it
Costs for landscaping vary enormously by region and by the choices you make, so a single number would be misleading. It’s more useful to know what pushes the price up or down.
- Hardscape such as patios, retaining walls, and driveways is usually the most expensive part per square foot.
- Large trees and mature shrubs cost far more than small starts, though small plants take longer to fill in.
- Soil work, grading, and drainage fixes can add up quickly if the site needs them.
- Irrigation and lighting add to the upfront cost but can save effort and improve use of the space later.
- Labor makes up a big share of any professionally installed project.
Decide on a total you’re comfortable spending, then divide the project into phases. Many homeowners handle the structure first and add plants over a couple of seasons.
5. Build the hard stuff before you plant
Paths, steps, walls, edging, and any drainage correction should go in before the plants do. It’s far easier to dig a trench or lay pavers on an empty site than around new roots. Make sure walkways are wide enough to be comfortable, generally wide enough for two people to pass at a main entry, and that surfaces are stable and slip resistant.
If the ground slopes toward your foundation, fix that first. Water directed away from the house matters more than any plant you’ll add.
6. Prepare the soil
This is the least exciting step and one of the most valuable. Remove existing turf where you’re making new beds, either by cutting and lifting it or by smothering it with cardboard and mulch for a season. Loosen compacted soil with a garden fork and mix in compost, especially if the yard sits on fill left after construction.
Resist the urge to replace all your soil with bagged topsoil. Improving what’s already there helps plant roots spread into the surrounding ground instead of staying stuck in a pocket of rich soil.
7. Choose plants by layers and by site
Now the fun part. Think in three layers. A few taller plants create structure near the house or at corners. Medium shrubs and perennials fill the middle. Low plants and groundcovers soften edges and cover the soil.
Match every plant to the conditions you noted at the start, including sun, moisture, and hardiness zone. A local nursery or your regional cooperative extension office can recommend plants that do well in your area. Check mature size on the plant tag and space accordingly.
Aim for repetition rather than variety. Using the same few shrubs and perennials in groups of three or five looks calmer than one of everything, and it makes the yard easier to care for.
Think about the view from inside
Stand at your front window and look out. Place something worth seeing there, like a small tree, a shapely shrub, or a seasonal border, and avoid planting tall hedges that block the light or your own view.
Keep sight lines safe
Near driveways and corners, keep plants low enough that drivers and pedestrians can see each other. Near the front door, avoid dense shrubs that would give someone a place to hide.
8. Plant, water, and mulch
Dig holes about as deep as the root ball and two to three times as wide. Set each plant so the top of the root ball sits level with or slightly above the surrounding soil. Backfill, firm the soil gently, and water deeply.
Finish with two to three inches of mulch, keeping it a few inches back from stems and trunks. New plants need consistent watering through their first growing season, so check the soil by hand rather than relying on a fixed schedule.
Doing it yourself or hiring someone
A confident DIYer can handle planting, mulching, small paths, and basic edging. Larger jobs are different. Grading, retaining walls, major tree work, irrigation systems, and electrical lighting often call for licensed or experienced professionals, and some jurisdictions require permits.
A middle path works well for many homeowners. Pay a landscape designer for a plan, or even a single consultation, then install it yourself in stages. You get professional thinking without paying for every hour of labor.
Mistakes worth avoiding
Buying plants before you have a plan is the big one. After that comes planting too close to the house, where roots and branches eventually cause problems, and ignoring mature size altogether. Many people also forget about winter, ending up with a yard that looks lovely in June and bare in January. Including a few evergreens and plants with interesting bark or seed heads solves that.
Skipping mulch and edging also costs more in the long run, since weeds and creeping grass will take over the neat lines you’ve built.
Finishing well
A landscaped front yard is never really done. Plants grow, seasons change, and you’ll want to tweak things once you’ve lived with the layout for a while. The goal of the process above isn’t perfection on day one. It’s to give you a solid base, built in the right order, so that every addition after that feels like it belongs.